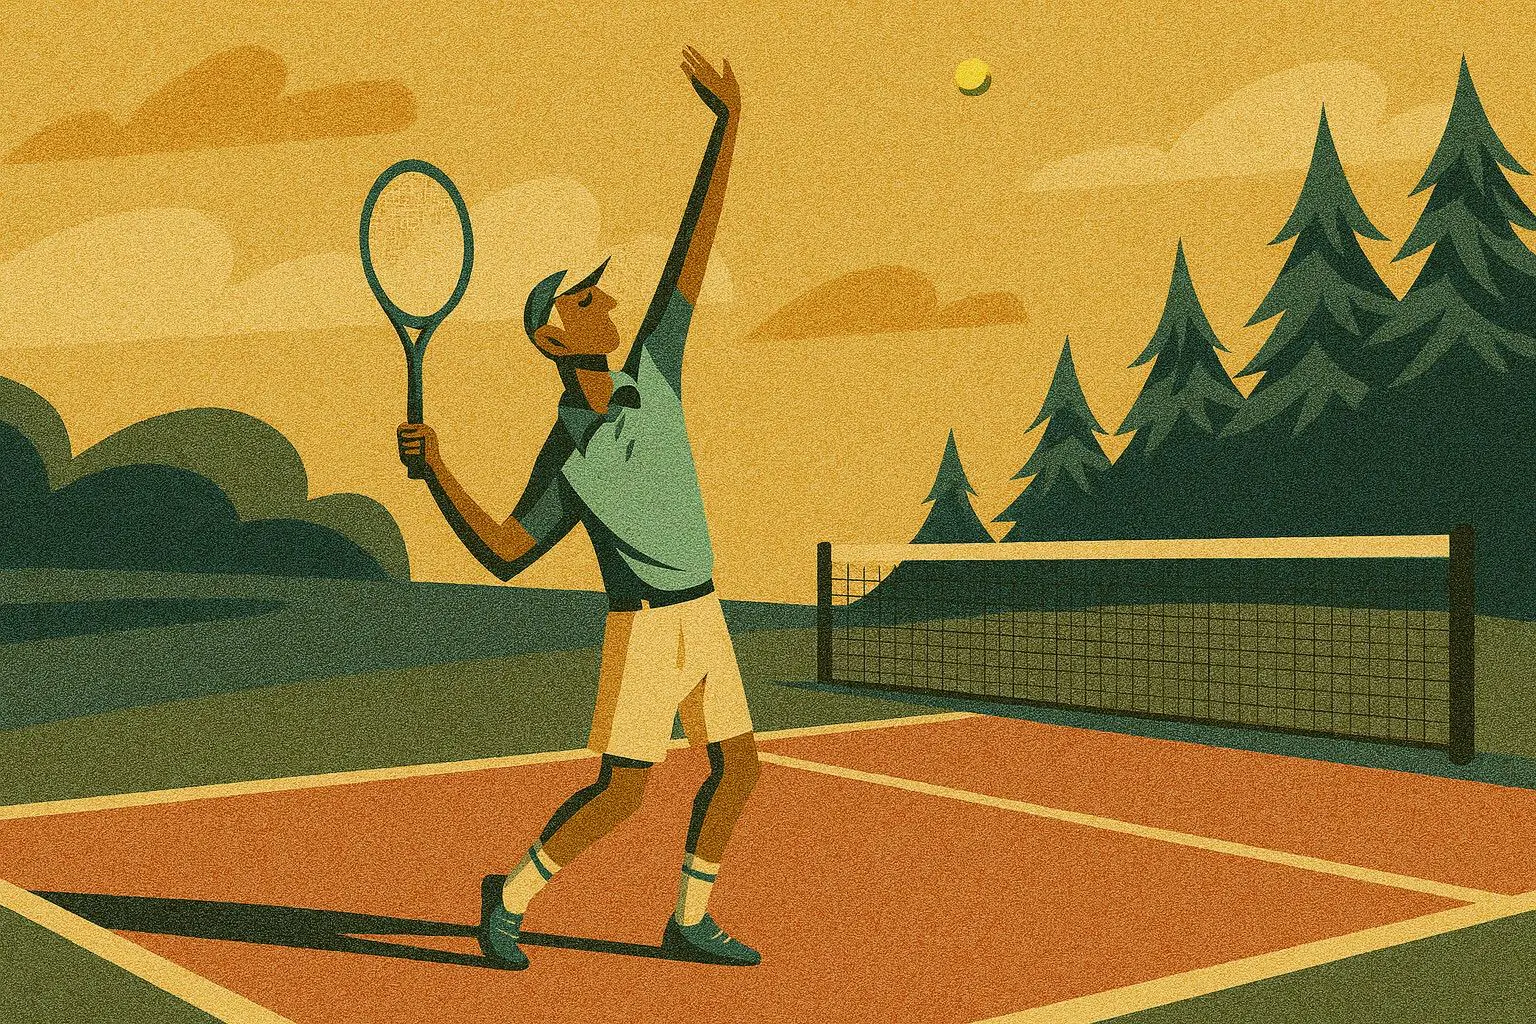
5 At-Home Tennis Drills to Break Through Your Plateau
You know the feeling. You’ve mastered the basics. Your forehand is solid, your backhand is reliable, and you can hold your own in a rally. But you’ve hit a wall. That next level—where you’re dictating points, serving with intention, and moving with effortless efficiency—feels just out of reach. This is the classic intermediate plateau, and frankly, it can be frustrating.
The good news? The secret to breaking through often lies in the work you do when no one is watching. Court time is crucial, but dedicated, at-home practice is where you can refine your technique, build sport-specific strength, and hardwire the muscle memory needed to elevate your game. As the great Roger Federer said, "There is no way around the hard work. Embrace it."
If you’re ready to embrace the grind and turn your B-game into your A-game, you’re in the right place. These five solo tennis drills you can do at home are designed specifically for the intermediate player. They go beyond the basics to focus on the details that separate good players from great ones.
1. Advanced Shadow Swings with Resistance Bands

Shadow swinging in front of a mirror is a classic for a reason, but as an intermediate player, it’s time to add a layer of challenge. Incorporating resistance bands turns this simple exercise into a powerhouse for developing racquet-head speed and reinforcing the kinetic chain.
What You'll Need:
A light-to-medium resistance band with a handle.
A sturdy anchor point (a doorknob on a closed door, a fence post, or a power rack).
Your tennis racquet.
How to Do It:
Setup: Anchor the band at about waist height. Stand sideways to the anchor point, far enough away that the band is taut when you’re in your ready position.
Forehand Focus: Hold the band handle and your racquet grip together in your dominant hand. Start with a proper unit turn, feeling the resistance from the band engage your core and shoulders.
Slow-Motion Swing: Execute a slow and controlled forehand swing. Focus on driving from the ground up: bend your knees, rotate your hips, then your torso, and finally let your arm and racquet follow through. The band provides constant feedback, forcing you to use your entire body, not just your arm.
Controlled Follow-Through: Finish your swing completely, holding the follow-through position for a second before slowly returning to the start. Do 10-15 reps.
Switch to Backhand: Turn around and repeat the entire process for your two-handed or one-handed backhand.
Why It Works
Intermediate players often generate pace with their arm, leading to inconsistency and potential injury. This drill forces you to engage your core and legs, teaching your body to generate power efficiently through the kinetic chain. The resistance builds strength in the exact muscles used for explosive, powerful groundstrokes.
2. The Serve Toss & Trophy Pose Perfection Drill
Your serve is the only shot you have complete control over, yet for many intermediate players, it’s a source of inconsistency. The culprit is almost always the toss. A variable toss leads to a variable serve. This at-home tennis drill is all about making your toss automatic and building a rock-solid foundation for a powerful service motion.
What You'll Need:
A few tennis balls.
A small, flat object to use as a target (a shoe, a book, or your racquet headcover).
How to Do It:
Find Your Spot: In a room with a high ceiling or outdoors, get into your service stance. Place your target on the ground slightly in front of your lead foot and just inside it—this is roughly where a perfect toss should land if you let it drop.
Toss and Hold: Using your standard tossing grip, practice tossing the ball up. The goal is consistency: the ball should reach its peak just above your maximum reach and descend right onto your target.
Introduce the Trophy Pose: Now, combine the toss with the next step of your motion. As you toss the ball, bring your hitting arm up into the "trophy pose"—racquet high, elbow bent, non-hitting arm pointing towards the ball.
Freeze! Hold this trophy pose until the ball hits the ground. Don't swing. Just hold. Feel the balance. Is your weight on your back foot? Is your body coiled?
Rinse and Repeat: Do this 20-30 times. The repetition builds muscle memory, so when you get on the court, you won't even have to think about the toss.
Why It Works
This drill isolates the most critical (and most overlooked) part of the serve. By removing the pressure of hitting the ball, you can focus entirely on creating a repeatable toss. Holding the trophy pose builds the stability and balance needed to launch your body up and into the ball for maximum power and spin.
3. High-Intensity Court Movement Patterns
At the intermediate level, winning isn't just about hitting the ball well; it's about getting to the ball in a position to hit it well. These footwork drills mimic the specific, explosive movements you make during a point, training your body to be faster, more efficient, and always ready.
What You'll Need:
4-5 markers (cones, water bottles, shoes—anything works).
An open space (driveway, garage, backyard, or large room).
How to Do It:
Set Up Your "Court": Place one marker as your "center T." Place the other four markers in positions representing common shots: one for a short forehand, one for a short backhand, one for a deep forehand, and one for a deep backhand.
The Pattern: Start at your center marker in a ready position.
Explode forward to the short forehand marker, do a shadow swing, and recover backward to the center. Always do a split step as you return to the center.
Immediately move out wide to the deep backhand marker, shadow swing, and recover with crossover steps back to the center. Split step.
Continue this pattern, mixing up the sequence to stay mentally engaged. Move for 1 minute at high intensity, then rest for 30 seconds. Repeat 5-8 times.
Why It Works
This isn't just about running. It's about training tennis-specific movement. Emphasizing the split step just before you "hit" your shadow swing hardwires the habit of being balanced and ready as your opponent strikes the ball. This drill directly translates to better court coverage and the ability to turn defensive situations into offensive ones.
4. Wall Volley Accuracy & Reaction Drill
You’ve probably hit against a wall before, but we can make this classic solo tennis drill much more effective for an intermediate player. The goal here isn't just to keep the ball going; it's about control, quick hands, and precision under pressure.
What You'll Need:
A flat, sturdy wall (brick or concrete is best).
Your racquet and a tennis ball.
Chalk or painter's tape.
How to Do It:
Mark Your Target: Use the tape or chalk to create a small target on the wall, about the height of a tennis net. A 2x2 foot square is a good start.
Get Close: Stand about 5-6 feet from the wall. Start with a continental grip (the "handshake" grip).
Rapid-Fire Volleys: Begin tapping the ball against the wall, alternating between forehand and backhand volleys. Keep your swing extremely compact—no big backswings. Focus on punching through the ball and aiming every single shot at your target.
Increase the Challenge:
Try to hit the target 20 times in a row.
Move a step closer to the wall to decrease your reaction time.
Move a step farther back to force more control.
Why It Works
Winning at the net is about quick reflexes and a feel for the ball. This drill dramatically improves both. By forcing yourself to aim for a small target, you’re training your racquet face control. The rapid pace sharpens your hand-eye coordination and mimics the high-pressure environment of a fast volley exchange.
5. Mastering Feel with Racquet Juggling
The final piece of the puzzle that separates intermediate from advanced players is often "touch" or "feel." It's the ability to hit a delicate drop shot, a feathery soft volley, or a lob with perfect weight. This skill can be practiced anywhere.
What You'll Need:
Your racquet and one tennis ball.
How to Do It:
Basic Juggles: Start by tapping the ball straight up on your forehand strings. See how many you can get in a row. Then, switch to your backhand strings.
Alternating Sides: Once you're comfortable, try alternating. Tap it up on the forehand side, let it bounce once on the strings, then rotate your wrist to tap it up with the backhand side.
Frame Roll: This is the advanced part. Hold the racquet flat and place the ball in the center. Gently tilt the racquet so the ball starts to roll around the edge of the frame. The goal is to make a full lap around the racquet head without the ball falling off.
Why It Works
These exercises develop an intimate connection between your hand and the racquet head. You start to feel exactly how the ball reacts to tiny changes in angle and pressure. The frame roll, in particular, is fantastic for developing the fine motor skills and delicate touch required for high-level shots around the net.
Turning Hard Work into Smart Work with a Coach
These at-home drills are an incredible way to build your skills and fitness. They represent the "outworking thousands in front of nobody" mentality that creates champions. But practice without feedback can sometimes lead to ingraining bad habits.
This is where combining your dedicated solo practice with expert guidance becomes the ultimate game-changer. While you can build muscle memory at home, a private coach provides the critical feedback needed to ensure you’re building the right habits. They can watch your newly strengthened strokes, analyze your movement patterns, and show you how to integrate these skills into real-world point construction and strategy. A coach can take the raw material you’ve developed and help you mold it into a winning game plan.
Ready to pair your off-court dedication with on-court expertise? TeachMe.To makes it simple to find vetted, high-quality tennis coaches near you. You can find the perfect partner to analyze your technique, push you to the next level, and help you finally smash through that intermediate plateau.
The journey to becoming an advanced player is a marathon, not a sprint. By committing to these at-home tennis drills, you’re investing in your game in a way that few of your competitors are. So grab your racquet, find some space, and get to work. Your future self on the court will thank you.